Docs
Pixel Flow user manual and best practices
Find scanning, filtering, image details, library, export, account, and industry workflow guidance by task.
First Session in 3 Minutes
When you use Pixel Flow for the first time, start by installing the extension, pinning it to the toolbar, and opening the side panel to scan the current page once. You do not need to sign in first. Sign-in is only required when you use favorites, user settings, and related personal features.
Recommended First-Time Flow
The first time you use Pixel Flow, follow this sequence once. It is easier to match the screenshots below with Chrome after you understand the full path.
- Install the extension. Add Pixel Flow from the Chrome Web Store.
- Pin it to the toolbar. Keep the Pixel Flow icon beside the address bar so you can open the side panel with one click.
- Open a suitable test page. Choose a page where you are allowed to access and process the images, such as your own website, a company asset page, or a licensed image library.
- Open the Pixel Flow side panel. Click the toolbar icon, or right-click the page and choose Manage current page images.
- Complete the first scan. Review the images in the capture feed, then try filtering, previewing, favoriting, or downloading one image.
Install from the Chrome Web Store
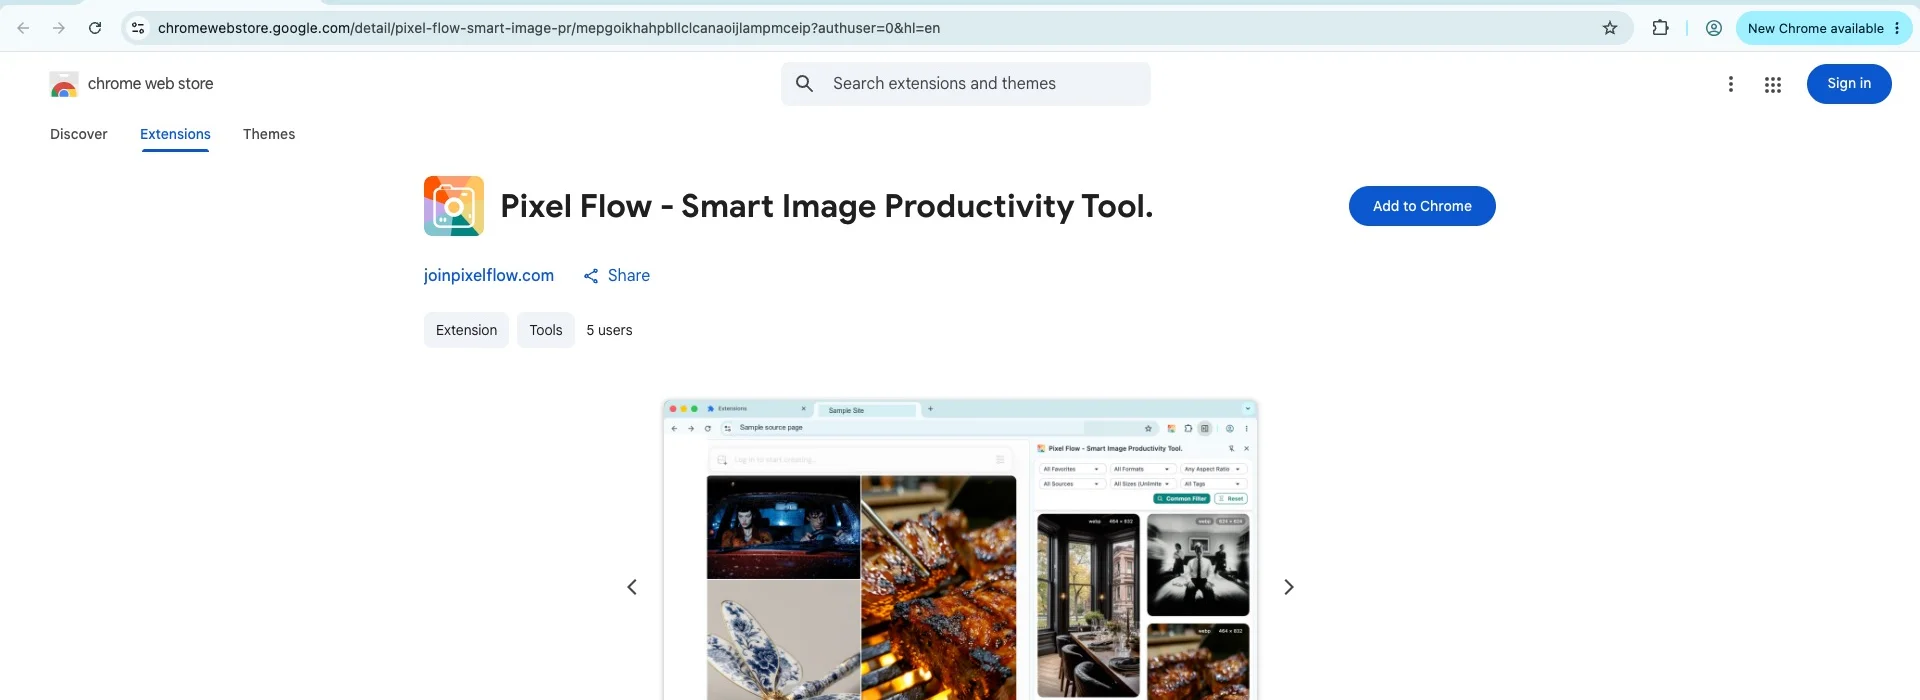
Step 1 - Open the Chrome Web Store listing.
Go to the Chrome Web Store and search for “Pixel Flow”, or click the “Add to Chrome” button on the Pixel Flow website to jump directly to the install page. The listing shows the extension name, icon, rating, and feature description.
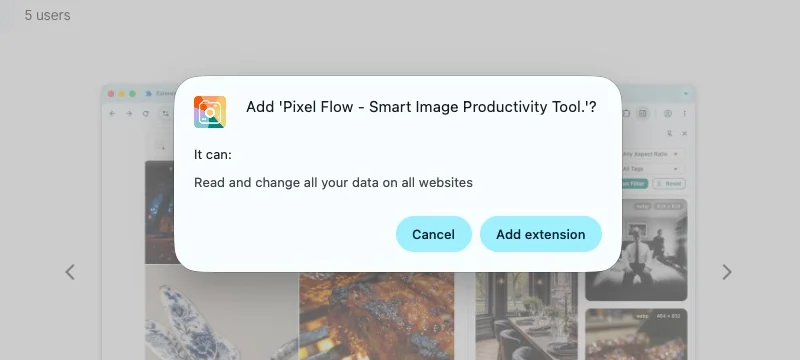
Step 2 - Click “Add to Chrome”.
Click the blue “Add to Chrome” button in the upper-right corner of the listing. Chrome will show a permission dialog that lists the permissions the extension needs, such as reading the current page content to detect images. After you review the permissions, click “Add extension” to finish installation. The dialog will close automatically.
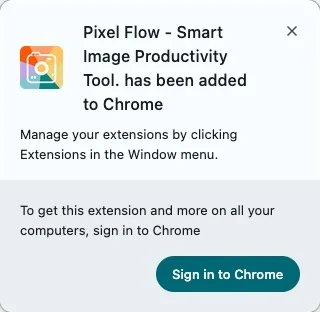
Step 3 - Find the extension icon in the toolbar.
After installation, Chrome briefly shows a confirmation message. The Pixel Flow icon may not appear in the toolbar yet because Chrome hides extension icons by default to save space. The next section explains how to pin the icon so it always stays visible.
Pin the Extension to the Toolbar
Chrome can have many extensions installed, so it often folds unused icons behind the puzzle icon on the right side of the toolbar. After you pin Pixel Flow, its icon always appears in the toolbar and opens the side panel with one click.
How to pin it:
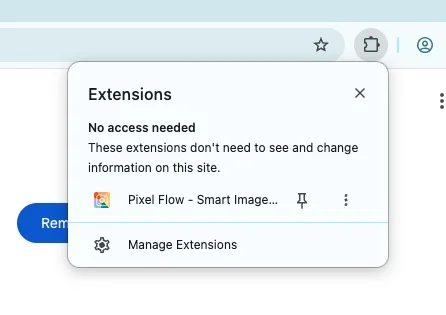
- Click the puzzle icon on the right side of the Chrome toolbar to open the installed extensions list.
- Find Pixel Flow in the list.
- Click the pin icon next to Pixel Flow. The icon turns blue when it is pinned.
After that, the Pixel Flow icon appears directly in the toolbar. You only need to do this once.

Open the Side Panel for the First Time
The Chrome side panel slides out from the right side of the browser window and can stay open while you browse. Pixel Flow runs entirely inside this panel. It does not open a new tab or a separate window.
How to open it:
- Navigate to the page whose images you want to inspect.
- Click the pinned Pixel Flow icon in the toolbar. The side panel slides in from the right.
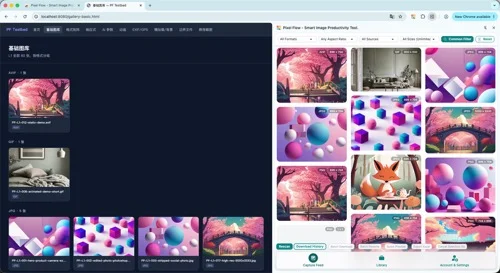
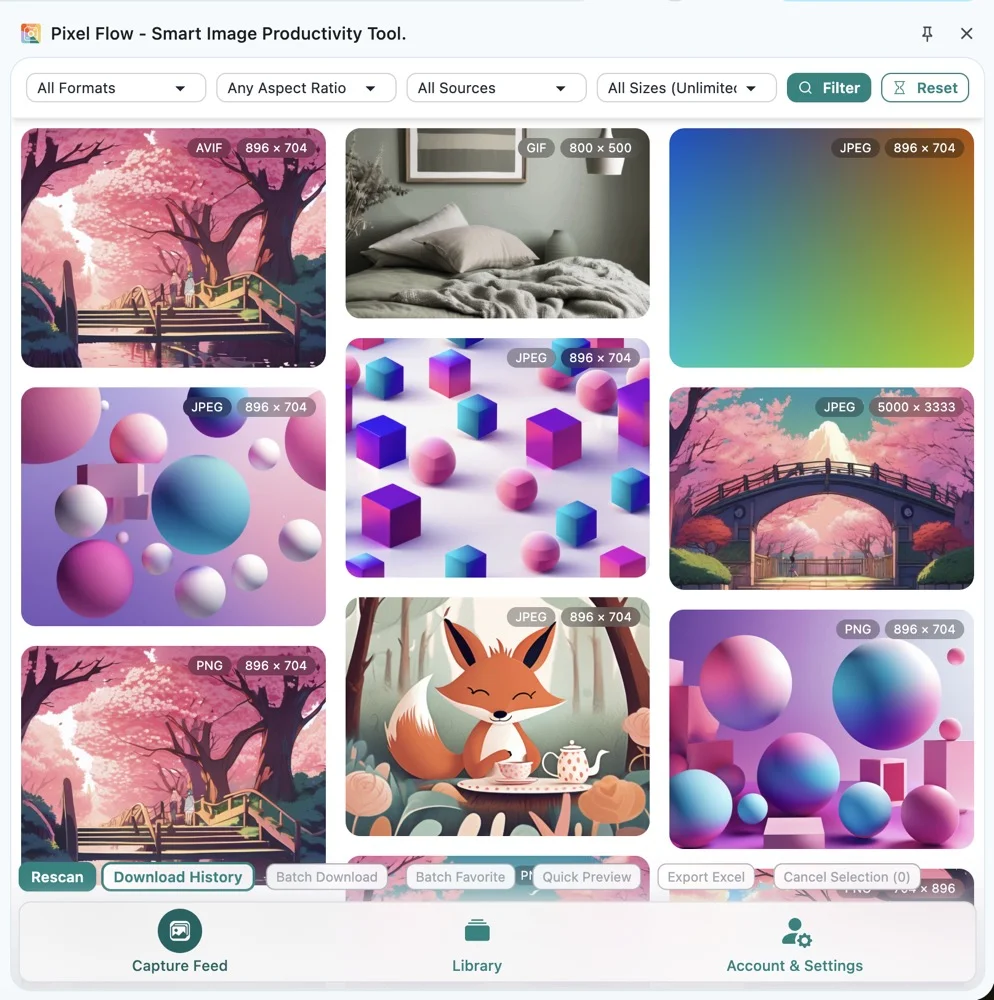
- You will see the main Pixel Flow interface. The bottom of the side panel has three tabs: Detect for detecting and filtering images on the current page, Library for saved images and collections, and Account & Settings.
The side panel follows the current tab. When you switch tabs, the panel updates to the new tab’s state. After Chrome finishes loading a new page, Pixel Flow automatically scans the images on the current page. Some websites are built as SPAs, where the URL and page content change without a full browser reload. If that happens, click Rescan to sync the capture feed with the current page.
Browser Version Requirement
Pixel Flow is built on Chrome Extension Manifest V3 and the Chrome Side Panel API. It requires Chrome 114 or later. On older versions, Chrome may refuse to install the extension, or the Side Panel API may be unavailable, leaving the extension with no interface to open.
How to check your Chrome version:
Enter chrome://settings/help in the address bar and press Enter. The current Chrome version appears near the top of the page. You can also open the three-dot menu in the upper-right corner of Chrome, then choose Help -> About Google Chrome. The version appears there and Chrome checks for updates automatically.
Keep Chrome updated:
Chrome updates automatically in the background and applies updates after a browser restart. If chrome://settings/help shows an available update, click “Relaunch” to apply it. Keeping Chrome current also keeps the APIs and security mechanisms Pixel Flow depends on in their best state.
Keep the Extension Updated
Chrome extensions update automatically in the background when the browser restarts. In most cases, you do not need to do anything manually. The next time you restart Chrome, the browser checks for extension updates and installs them silently.
To trigger an update immediately without restarting Chrome:
- Enter
chrome://extensionsin the address bar and press Enter. - Turn on Developer mode in the upper-right corner.
- Click the Update button that appears. Chrome immediately checks all installed extensions for updates and installs them.
- You can turn Developer mode off after the update finishes.
What happens to your data during updates:
Updating Pixel Flow does not delete saved data. Favorites, tags, download history, and account state remain intact before and after an extension update. If something behaves unexpectedly after an update, such as the side panel not opening, try closing and reopening the side panel or restarting Chrome once.
First Scan Tips
After installation and opening the side panel, test the page image scan flow on a page you know well. This helps you quickly understand which images Pixel Flow detects, how source information is displayed, and which actions require your confirmation.
-
Choose a page where you are allowed to access and process the images. This can be a licensed image library, your company’s website, or a public reference page. Pixel Flow can run on any page Chrome can load, but you are responsible for what you do with the images it finds. See the notes below.
-
Start scanning from either entry point. Neither option requires leaving the current page:
- Option A: Use the context menu. Right-click anywhere on the page and choose Manage current page images. The side panel opens and immediately scans detectable images on the current page.
- Option B: Use the toolbar icon. Click the Pixel Flow icon to open the side panel. Detection starts automatically.
-
Review results before batch actions. For your first session, open a few image detail pages first and confirm dimensions, format, source link, and rights clues before you favorite, download, or export.
To deeply analyze a single image, right-click that image and choose Deep parse image. Pixel Flow opens a full analysis page with metadata, AI fingerprint signals, and technical parameters.
Notes
Every Pixel Flow action must be initiated by you. The extension does not scan pages automatically in the background, does not detect images from websites you have not visited, and does not run without user action.
The extension itself does not verify legal rights. You are responsible for confirming whether you may access, download, organize, and reuse the images you find. For example, do not use Pixel Flow on unauthorized logged-in platforms, do not operate it on websites whose terms explicitly prohibit automated collection or batch download, and do not use images for purposes not authorized by the original rights holder. If you are unsure, review the website terms or license before downloading.
FAQ
Q: The side panel does not open after I click the extension icon. What should I check?
First confirm that Chrome is version 114 or later by visiting chrome://settings/help. If the version is supported, try disabling other extensions one by one to rule out conflicts: go to chrome://extensions, turn off other extensions, and test the Pixel Flow icon after each change. If the side panel still does not open, fully restart Chrome by closing all windows and reopening it. If none of these steps works, use Contact Support in Pixel Flow settings and include your Chrome version and system information.
Q: Do I have to sign in before using Pixel Flow?
No. You can install the extension, open the side panel, scan page images, preview image details, and use basic filters without an account. Sign-in is only required when you use favorites, user settings, and related personal features. After installation, you can immediately try the core page image scanning flow.
Q: Can I use Pixel Flow in Incognito mode?
Not by default. Chrome blocks extensions in Incognito mode unless you enable them manually. Open chrome://extensions in a normal window, find Pixel Flow, click “Details”, then enable “Allow in Incognito”. Note that in Incognito mode, Chrome does not persist extension storage across sessions, so favorites, tags, and download history created there will not be kept after you close the Incognito window.
Q: How do I check my Chrome version?
Enter chrome://settings/help in the address bar and press Enter. The current version appears near the top of the page. If an update is available, Chrome downloads it automatically and shows a “Relaunch” button. Click it to restart Chrome and apply the update. You can also open the same page from Chrome’s three-dot menu -> Help -> About Google Chrome.
Q: I installed the extension, but I do not see the icon in the toolbar.
The icon is there, but Chrome hides it by default. Click the puzzle icon on the right side of the toolbar to open the list of installed extensions. Find Pixel Flow and click the pin icon next to it. The Pixel Flow icon will immediately appear in the toolbar and stay there.
Q: How do I update Pixel Flow to the latest version?
Chrome automatically updates extensions when the browser restarts. To update immediately without restarting, open chrome://extensions, turn on Developer mode in the upper-right corner, and click Update. It should finish within a few seconds. Updating does not affect saved data; favorites, tags, and download history are preserved.
Related Pages
- Feature Overview
- Open the Side Panel and Scan Page Images
- Capture Images from a Webpage
- Why Browser Permissions Are Needed